Activity:
1. Understand the sketch of circuit diagram.
.png) |
| Figure 1: Schematic Diagram of Pinch Measurement |
 |
Figure 2: Sketch on OHP plastic paper
|
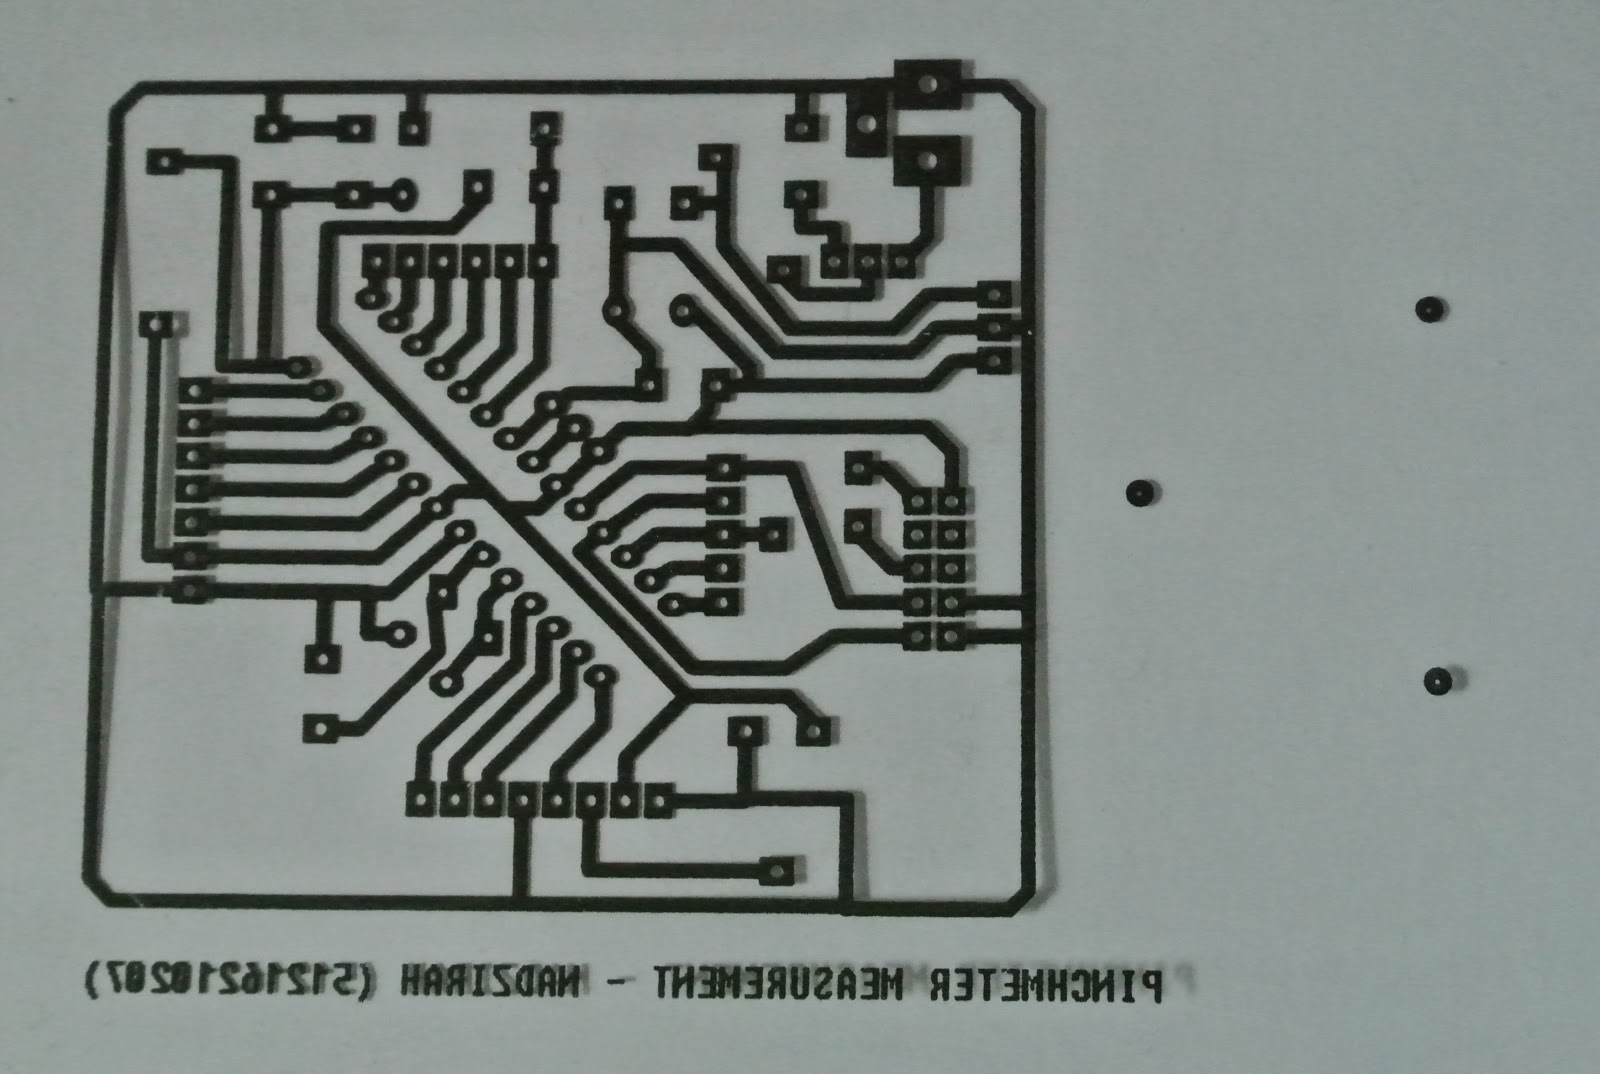
2. Stick the schematic diagram on PCB and iron it
 |
| Figure 3: Schematic circuit on PCB |
3. Etching process
 |
| Figure 4: Etching process |
4. Drilling process
 |
Figure 5: Drilling process
|
5. Soldering process
 |
| Figure 6: Soldering process |
6. Construct prototype
 |
| Figure 7: Prototype construction |
7. The hardware of pinch measurement
 |
| Figure 8: The actual hardware of pinch measurement |

.png)


No comments:
Post a Comment